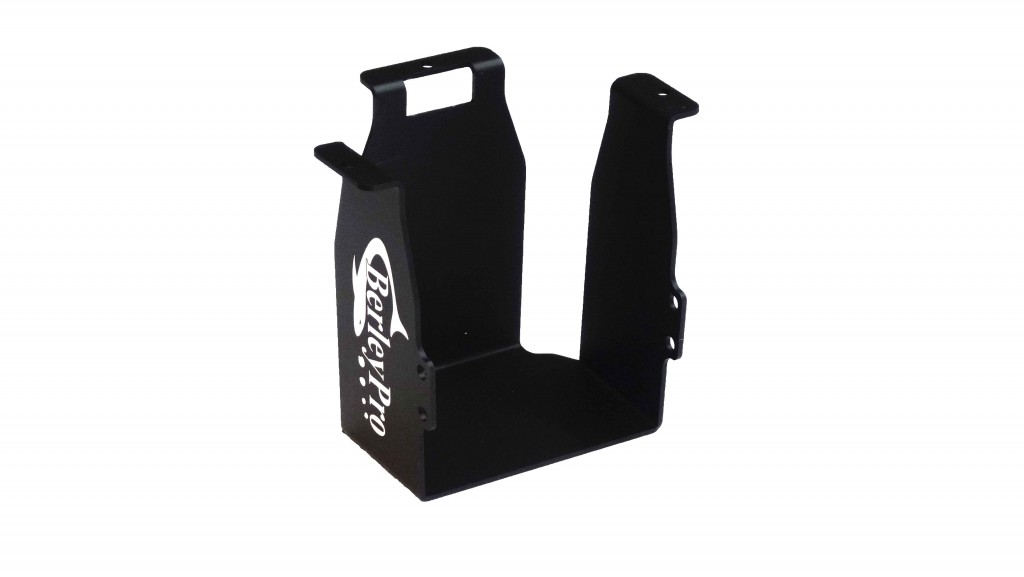
I have recently made new dimmers for the BerleyPro Kayak Fishing Lights so it was the perfect opportunity to see how they fit on the round hatches of the Vikings. I removed the hatch and fitted a new BerleyPro battery and dimmer and this is how you do it!
Place the battery inside the holder with the terminals in the direction as shown. These fit either a 4.5 or 5ah 12v sealed battery.
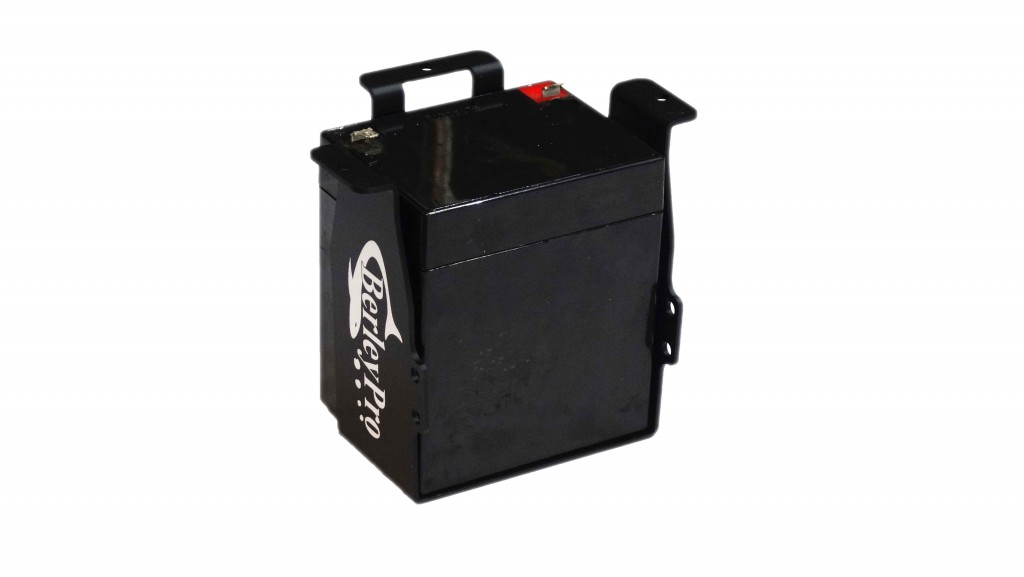
Feed the Velcro strap through the battery mount and over top of the battery.
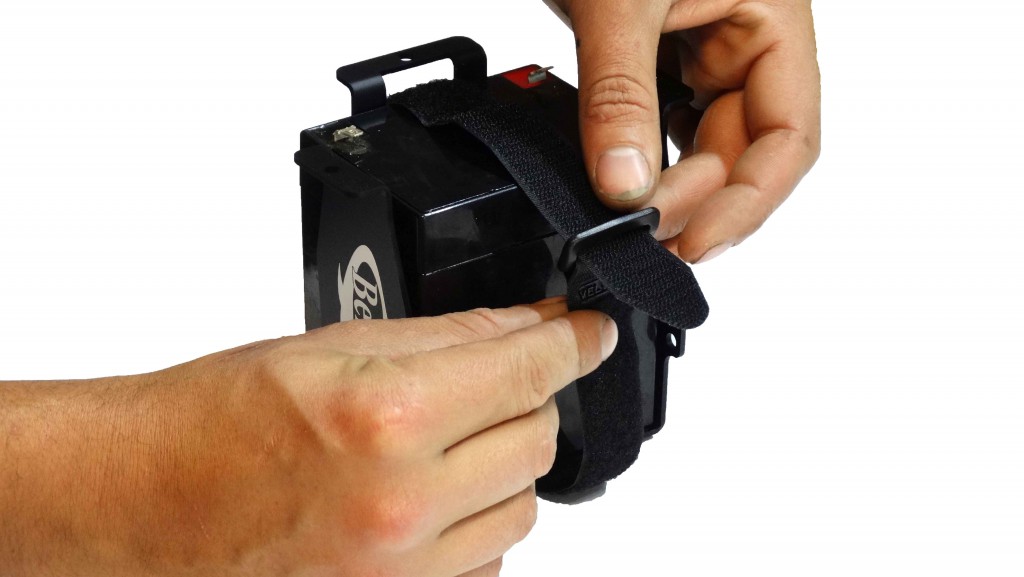
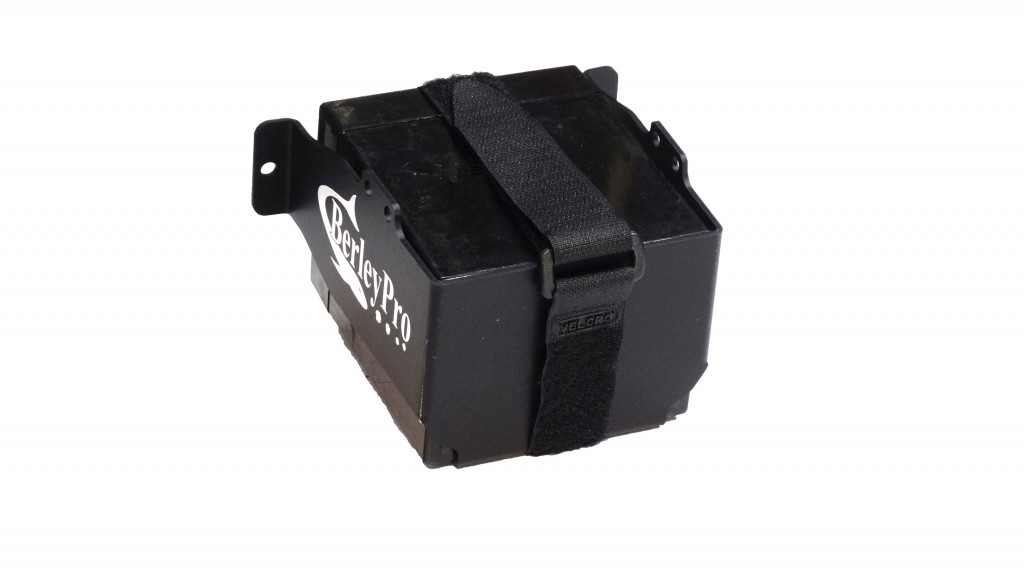
Tighten the Velcro strap with the buckle as shown.
Sit the battery mount on top of the underside of the hatch. Lightly squeeze the battery mount with your hand to make sure the battery will be a snug fit when refitted.
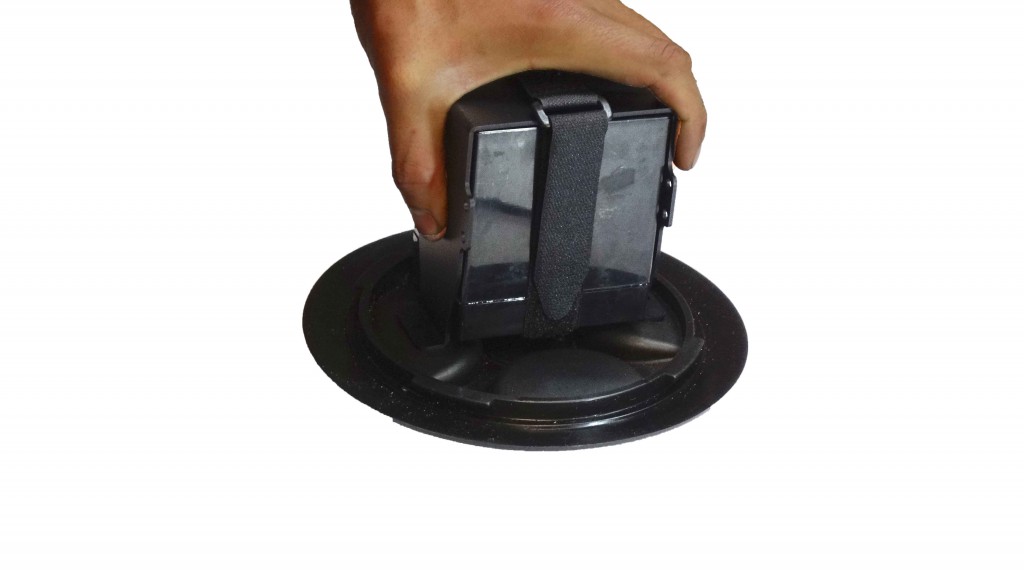
Mark the 3 holes from the bottom and dill a 5mm hole through each.
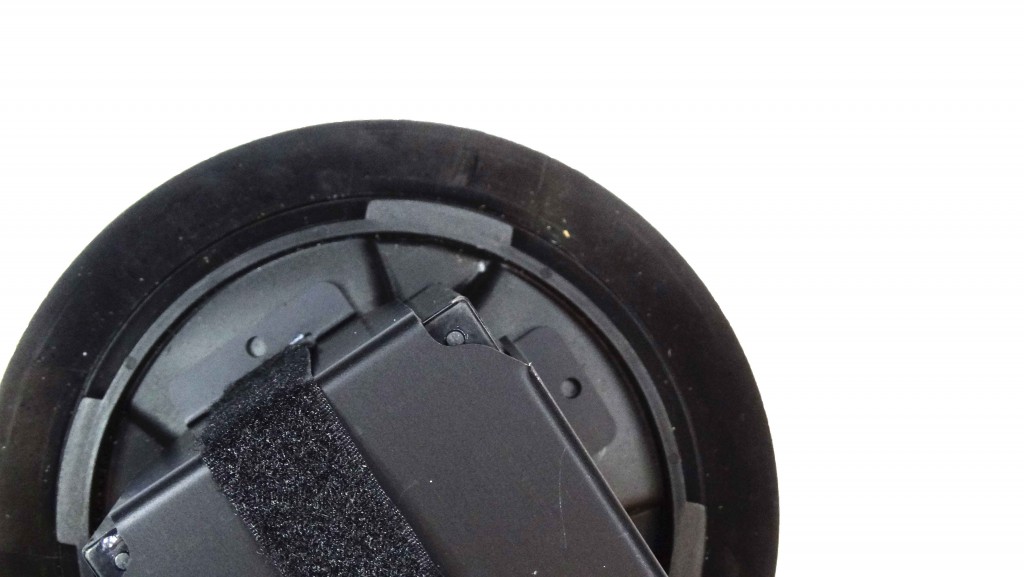
Apply a drop of silicone to the holes and then use the 3 bolts and nuts provided to tighten the battery mount onto the hatch.
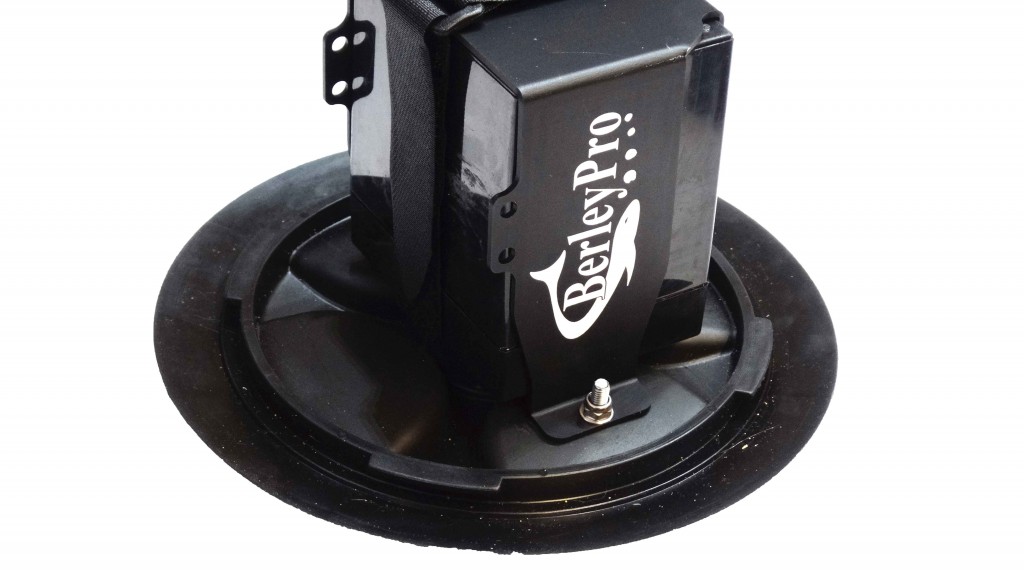
Sit the switch and the cable gland on the back of the round hatch to check the space. Mark the center of each and then drill a 12mm hole through both.
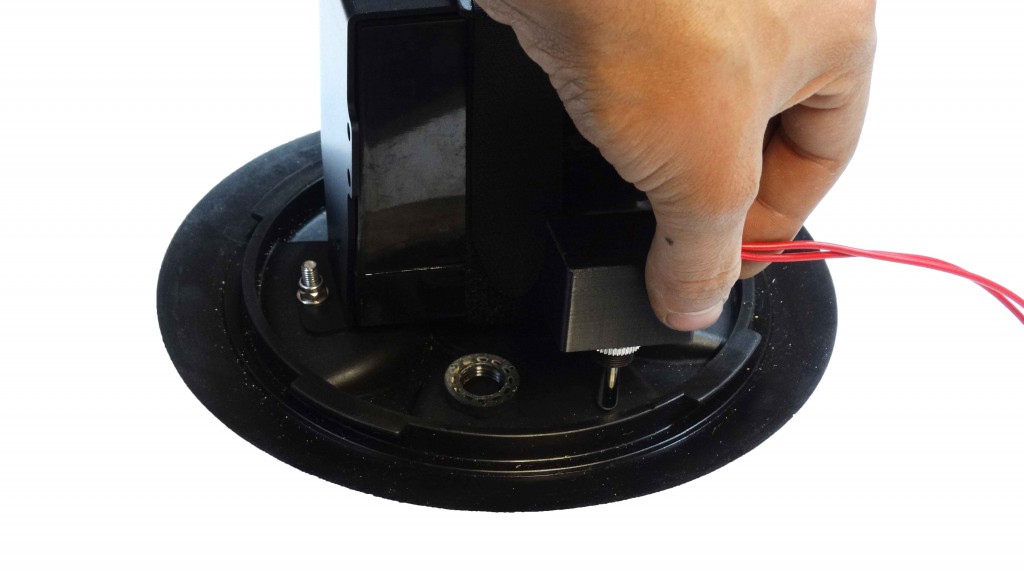
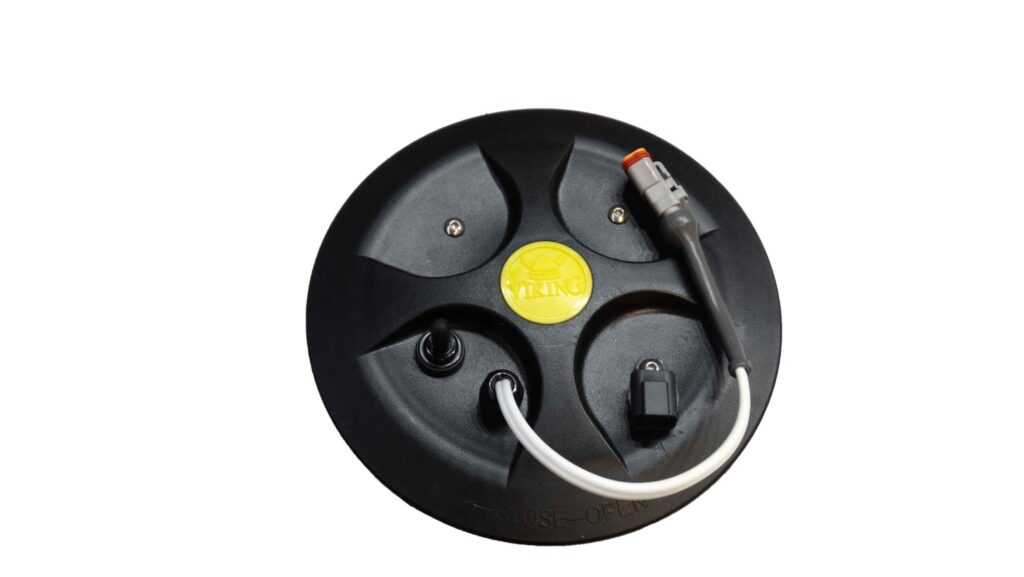
Tighten the switch and the gland and it should look like this from the top.
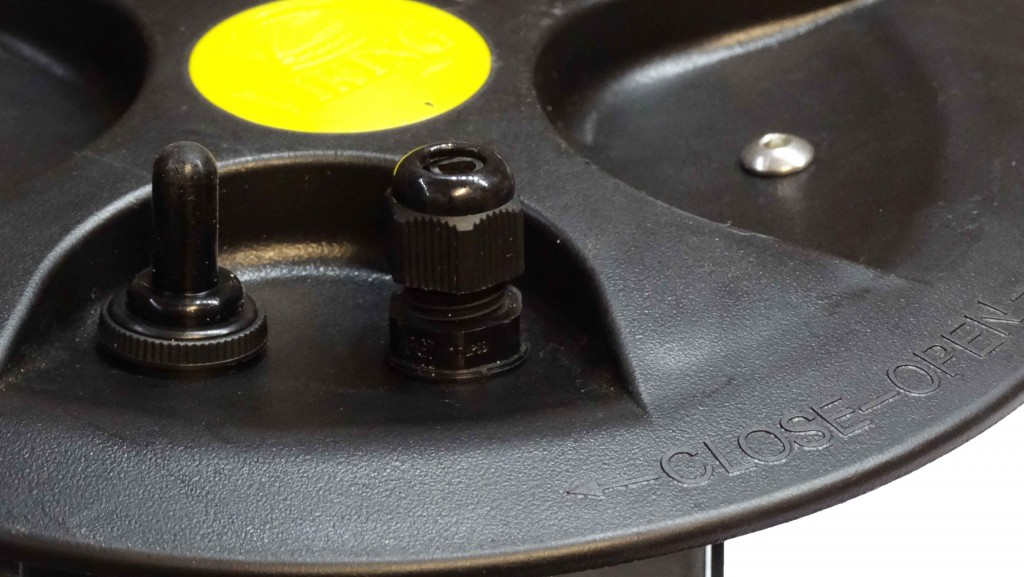
Install your prewired harness for the light through the cable gland. Screw the blanking cap onto one of the m5 bolts.
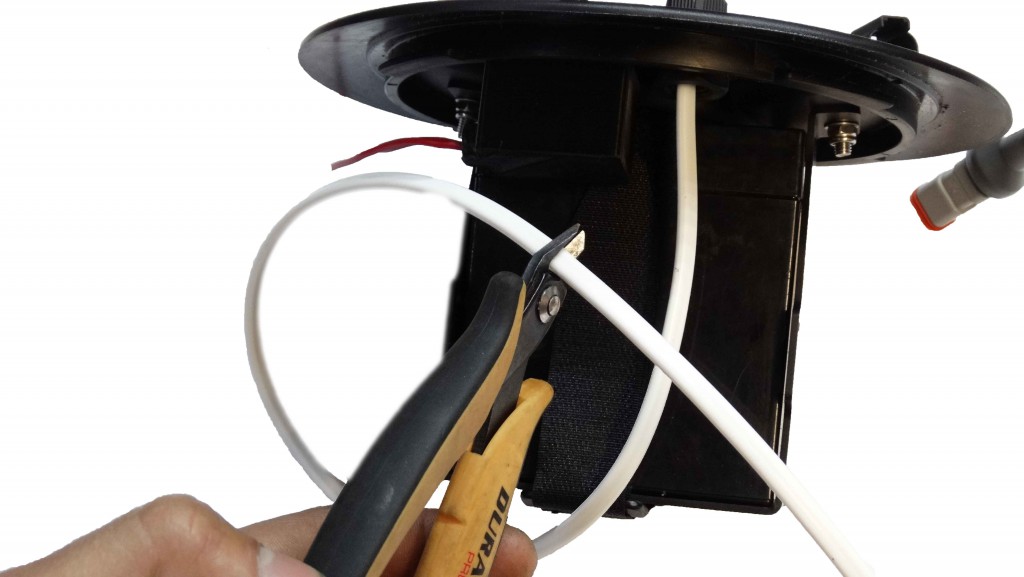
Cut the wire with enough length for it to reach the battery terminals
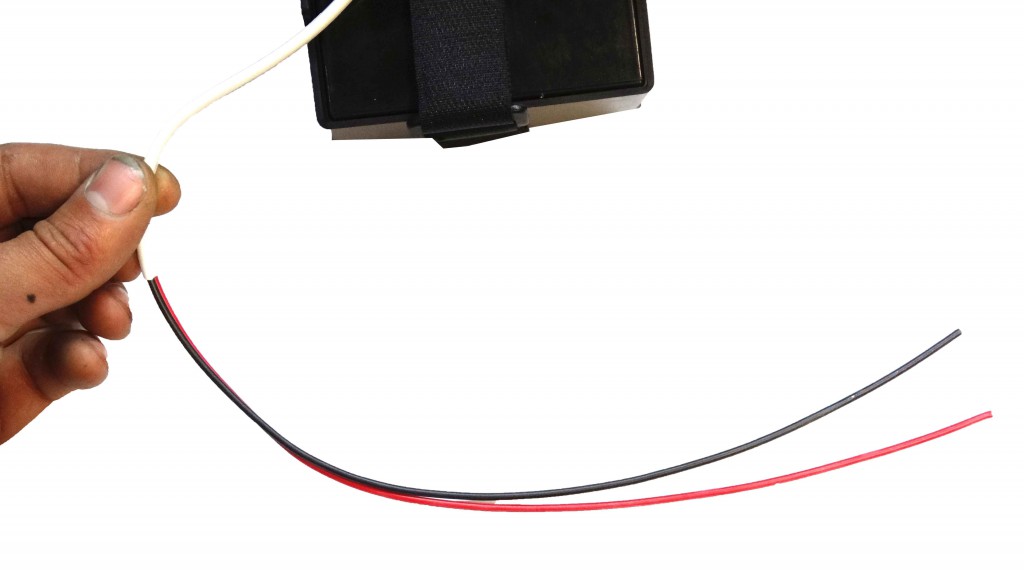
Remove 200mm of the cable cable sheath.
Cut the red wire shorter than the black by the length of a fuse holder and then join the two red wires from the switch in series as shown. The two red wires from the switch can be wired either way around.
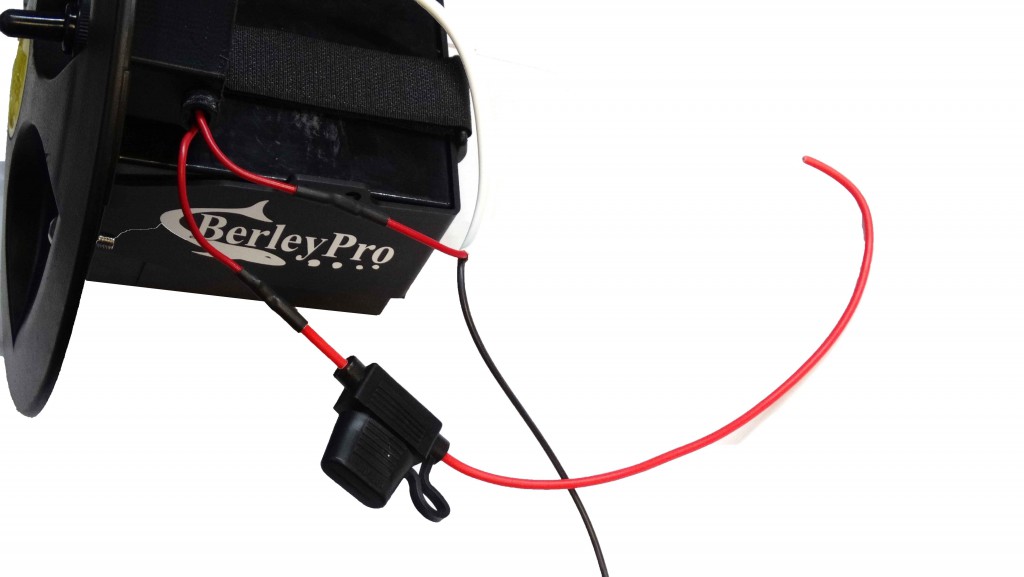
Attach two spade terminals to the end of the black and red wire as shown then connect them onto you battery.
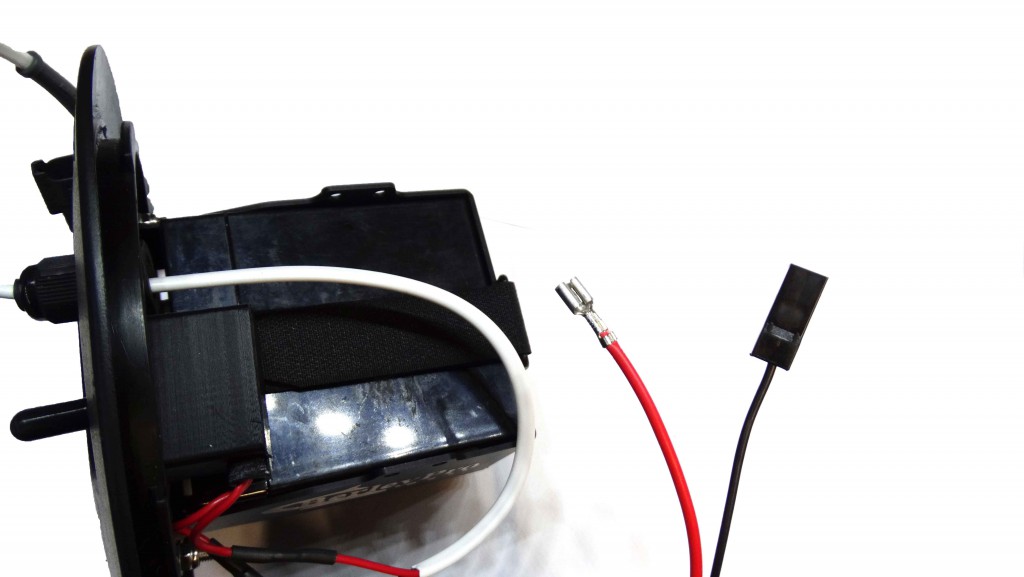
Install a 3 Amp fuse in the fuse holder.
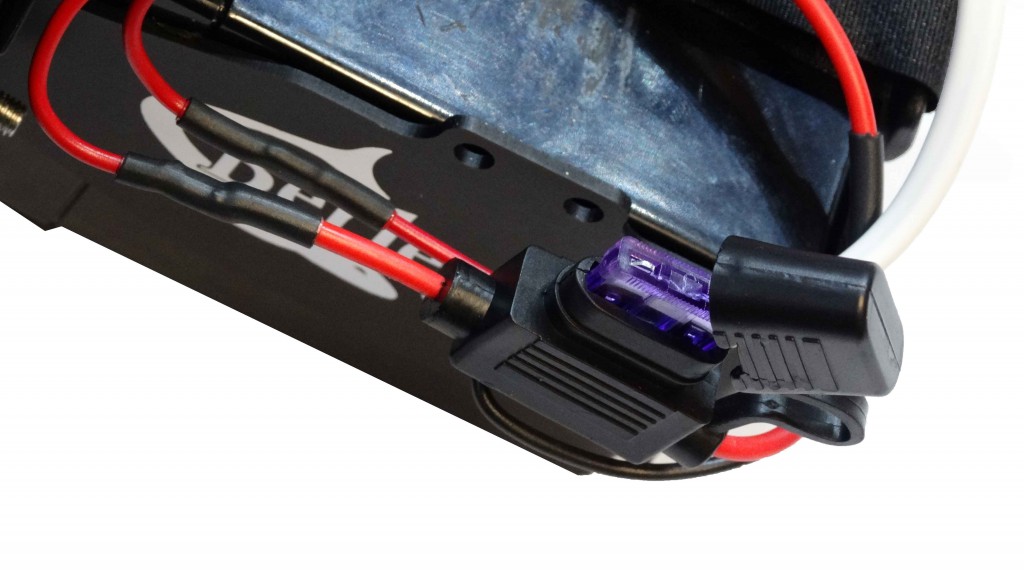
Cable tie the fuse holder up to the battery mount to avoid the cables getting damaged when you install and remove the hatch. Job done! Tim to test it out!.
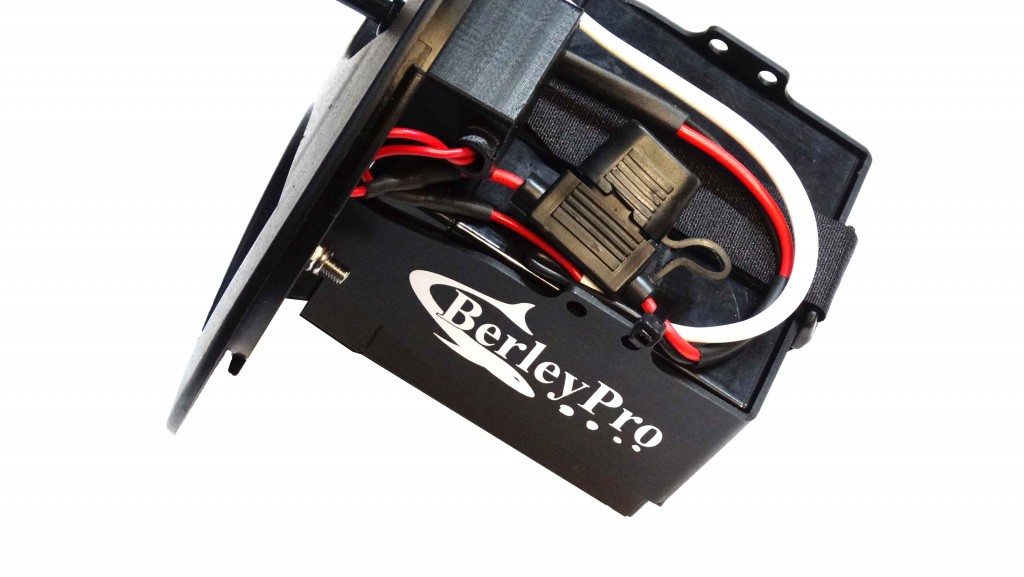
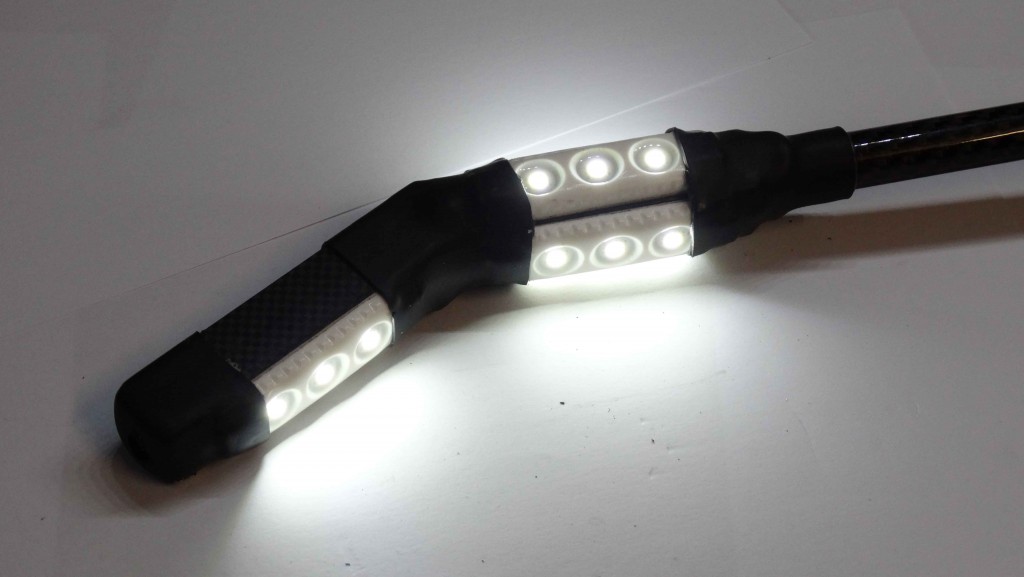
The light now has an high-low and off position! Here is a picture of the light in the low position!
1 comment
Marc Cote
Hello the pictures for the install are not showing up on the webpage. I have tried multiple browsers. Can you please check these?