Over the years I’ve been running high and low flow settings on my live wells for years with running 6V and 12V batteries switched, but with now going to lithium batteries, I have now started running just the one 12V battery with voltage converters.
Here’s a few ideas of how to put one in a Hobie Outback
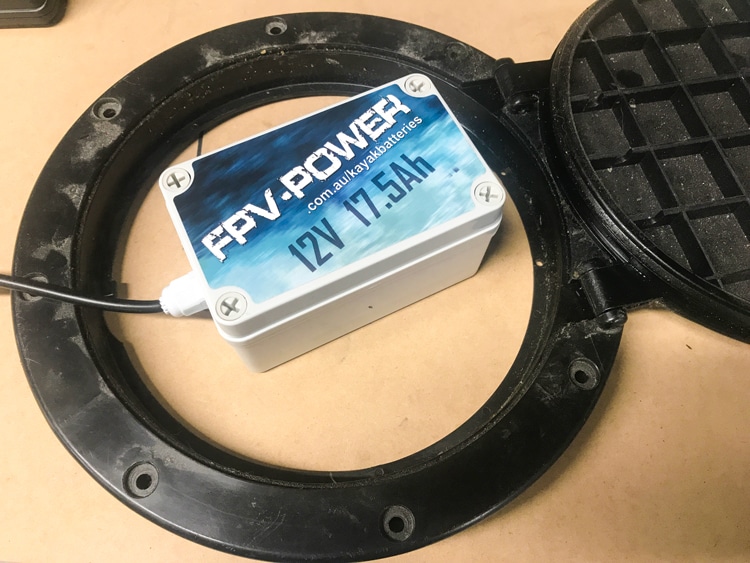
Here’s a FPV 17.5 AH, 12v battery that has been designed and built in Australia, and I’ve had great success with these batteries, and they are only 800 grams.
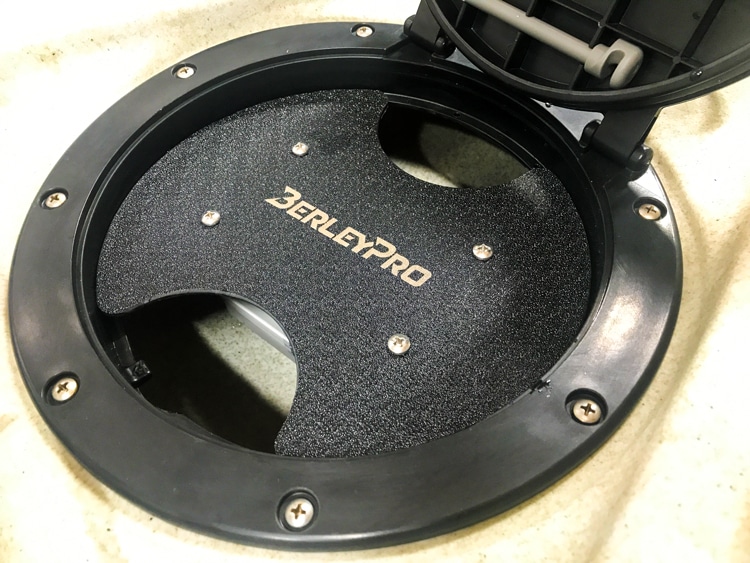
We made a mount that fits on the inside of the round hatch.
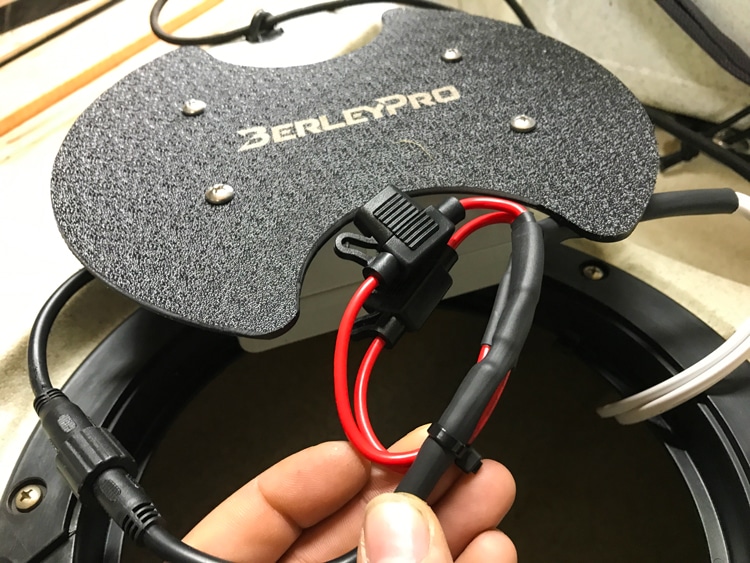
We run the same battery for the live well and the sonar (graph). We wire a fuse holder onto each circuit. One for the sonar and one for the live well. The loops are to support the weight of the fuse holders so the weight isn’t working on the connections.
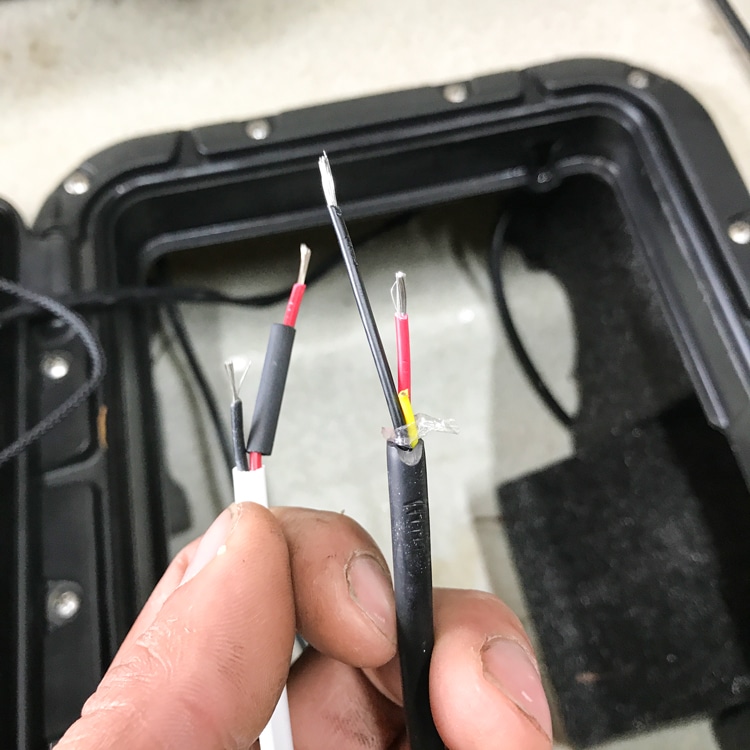
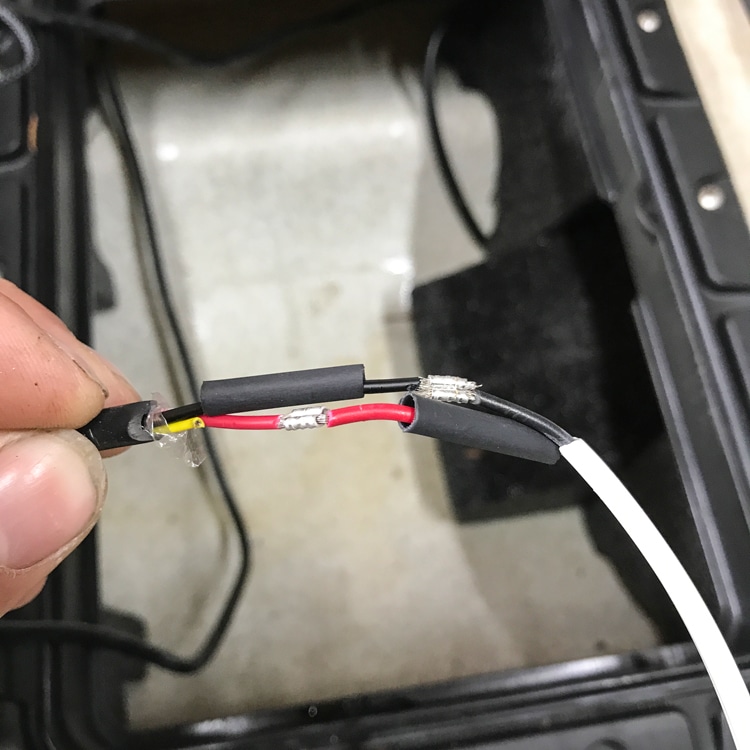
When joining cables we stagger the connections and use crimps and glue wall heat shrink. Why no solder? Kayaks are normally put on trailers or roofs for long periods of towing. Solder is great in some applications but unfortunately it has the tendency to break with vibrations since its creates a stiff joint. We then cover the whole joint with glue wall heat shrink (no photo).
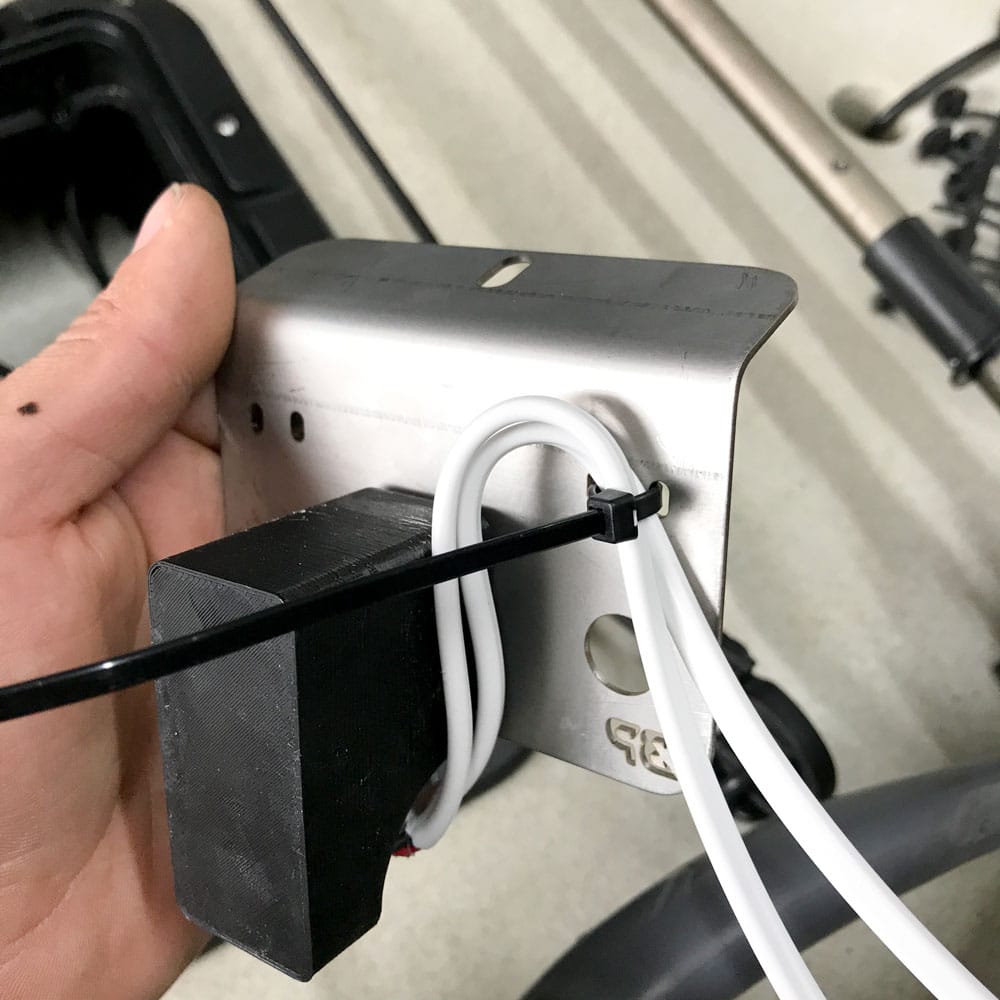
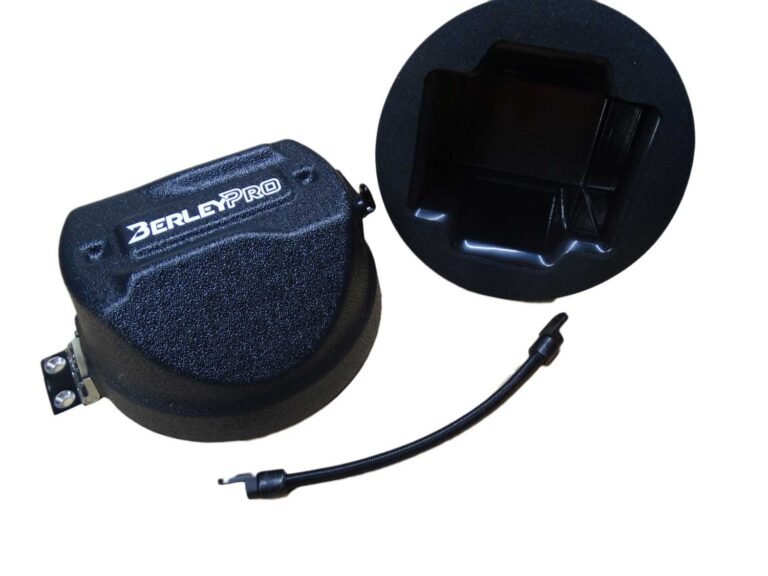
The live well switch is a 3-position switch that we have 3D printed a housing for and put a converter in the base. The switch has the positions Up – High . Center – Off . Down – Low. We wire this with the leads long enough to reach the battery and the live well and then seal it with epoxy. The stainless steel switch mount also has two slots to attach a cable tie to ensure there is no tension on the epoxied connection.
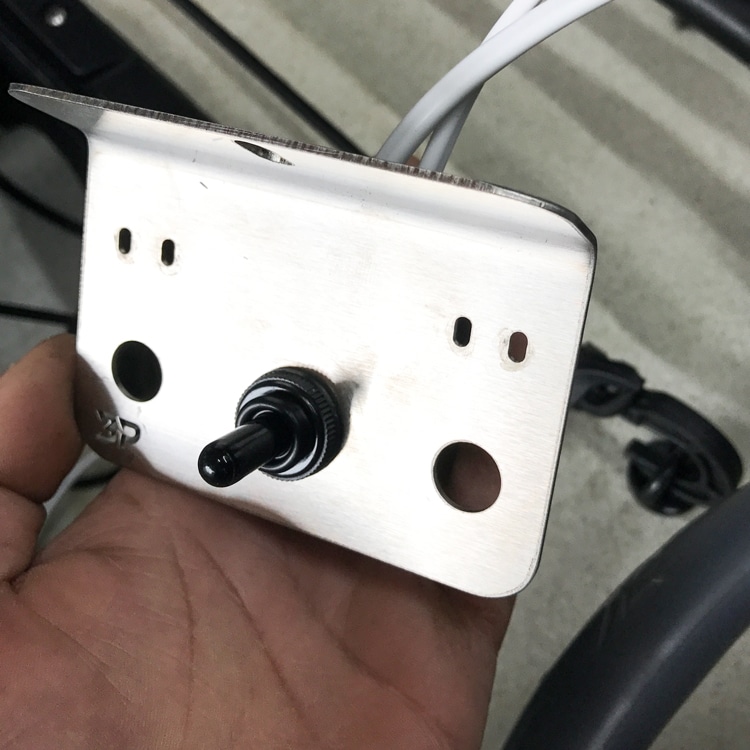
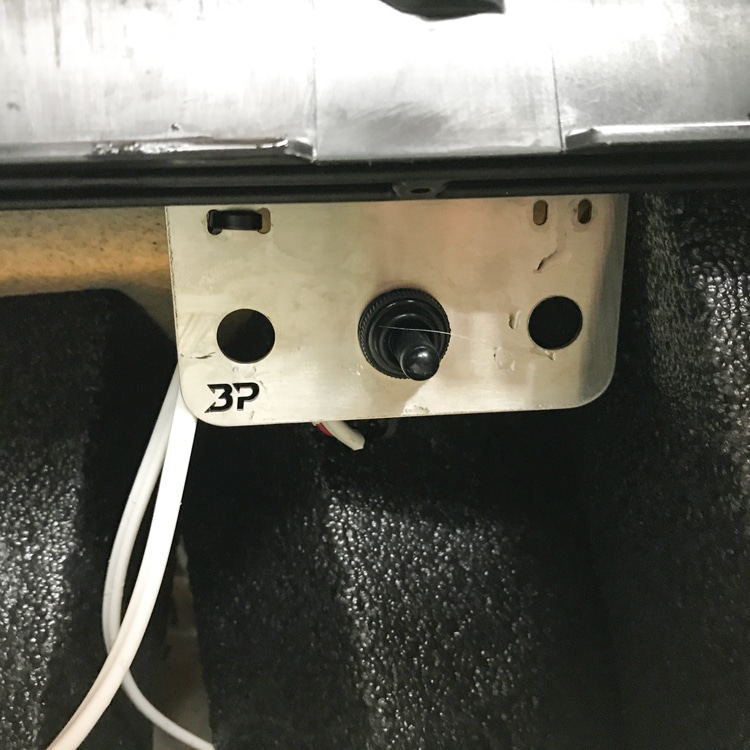
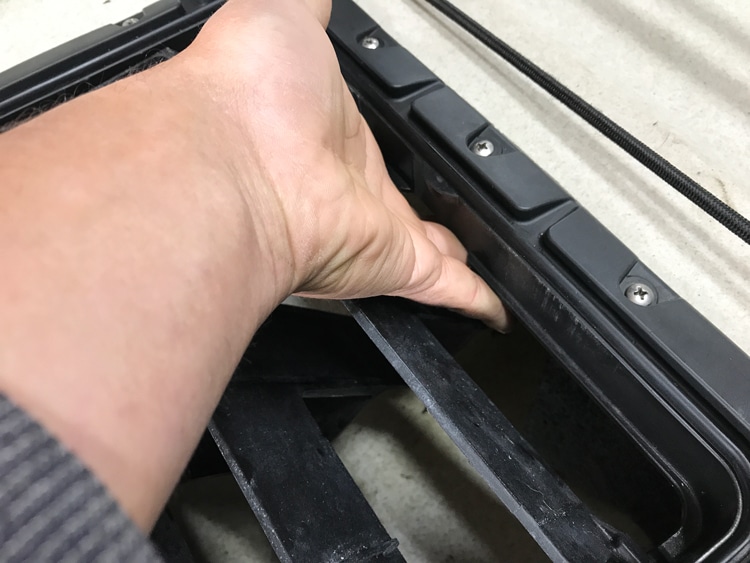
The switch mount is installed by undoing the screws on the backing plate of either the round or rectangular hatch. The mount just slides in between and is held in by the same screws. There is still access to get to the switch with tackle trays installed.
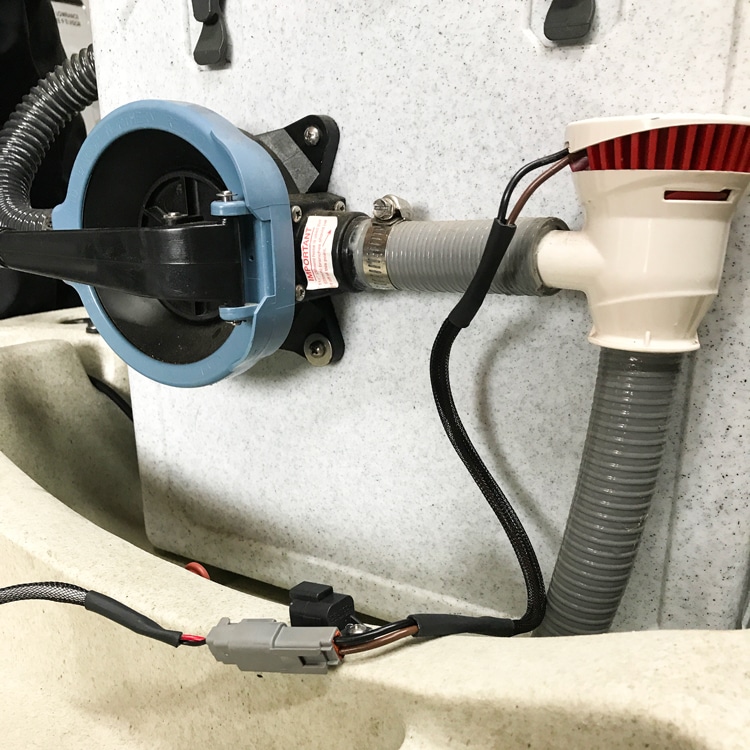
The Tsunami pump can run on both 6 and 12V and in this setup is mounted on the front of the esky. We run the wiring up through the transducer thru hull plug and put a waterproof blanking cap so if the live well isn’t being used it won’t ruin the plug.
Any questions on this setup, feel free to send us an email or comment below.
