John from Ebb Tide and myself have recently been working on fitting out some new parts to his Slayer 10.
I started with the install of the sounder. Because of the length of the structure scan transducer I decided to hang it over the back. I utilized a RailBlaza mount to allow for the adjustment required and if it collides with something it allows it to raise up.
I bent a tube to follow the contour of the rear of the yak and welded it to the stainless adapter. I also cut two stainless plates to mount the Lowrance transducer mounts to.
I welded the two plates on another bar. The idea behind this was to keep it as tight as possible to the rear of the kayak and only have the cables running down the one side.
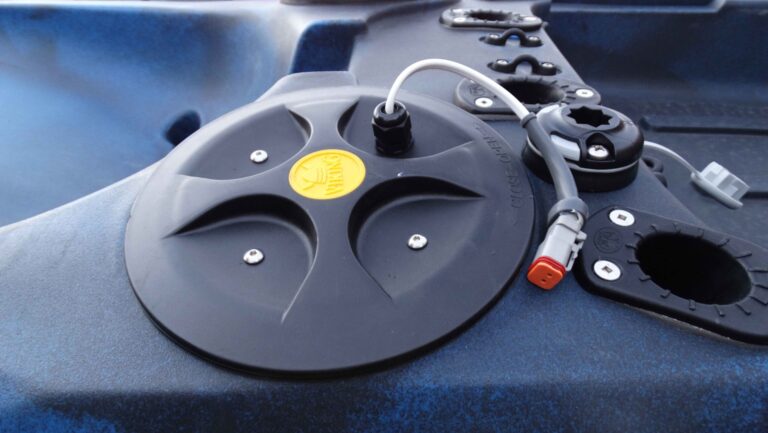
I removed the existing rubber cap and cup from the rear round hatch.
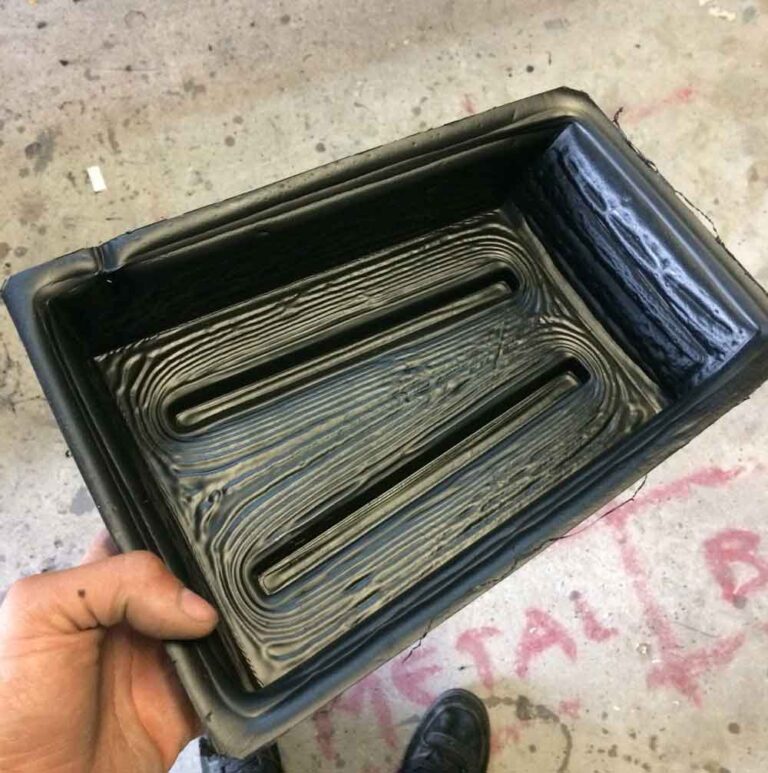
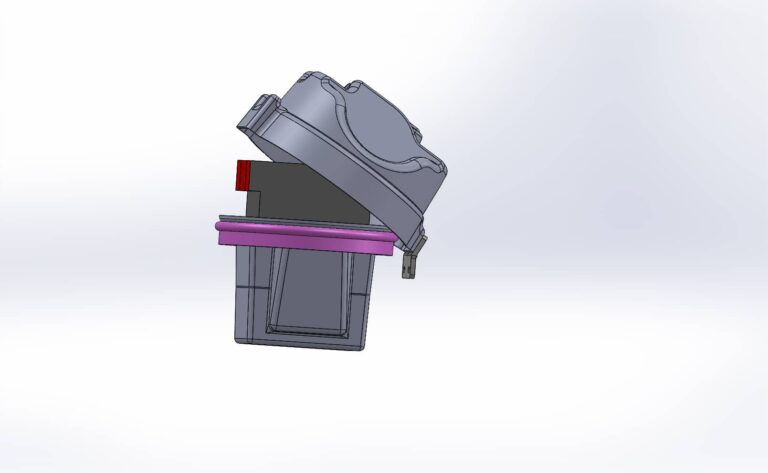
The new BerleyPro battery mount is installed into the existing hole.
The top cap has a Hobie cable gland in the top to allow the transducer cables to be run out and down to the rear of the yak
This was now finished with a 9ah battery in place. Because the Lowrance unit has such a high current draw I decided to place a second battery up the front. This is a prototype I have been working on lately and has mounted up great.
The next step is to mount the structure scan unit, a BerleyPro Carbon fiber light and then wire everything up!


