Matt Tuffy from Imitate Baits has recently teamed up with the crew at Capacity Sports and will now be using the Native Watercraft range. I was fortunate enough to get the opportunity to fit this out for him with some electronics and mounts for his journey around Australia.
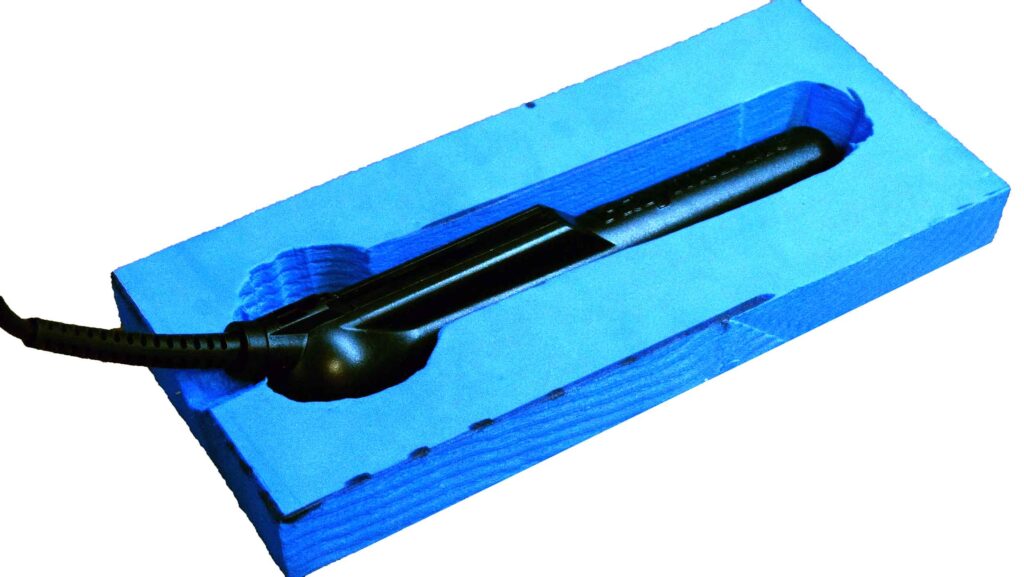
Matt is running a Raymarine Dragonfly 5 Pro so he sent down the unit for me to install. I chose to stick this in the hull as I am not a fan of hanging transducers over the side of the kayak. I like to keep it simple to set up and snag free! To do this I cut a recess in a piece of foam to suit the transducer.
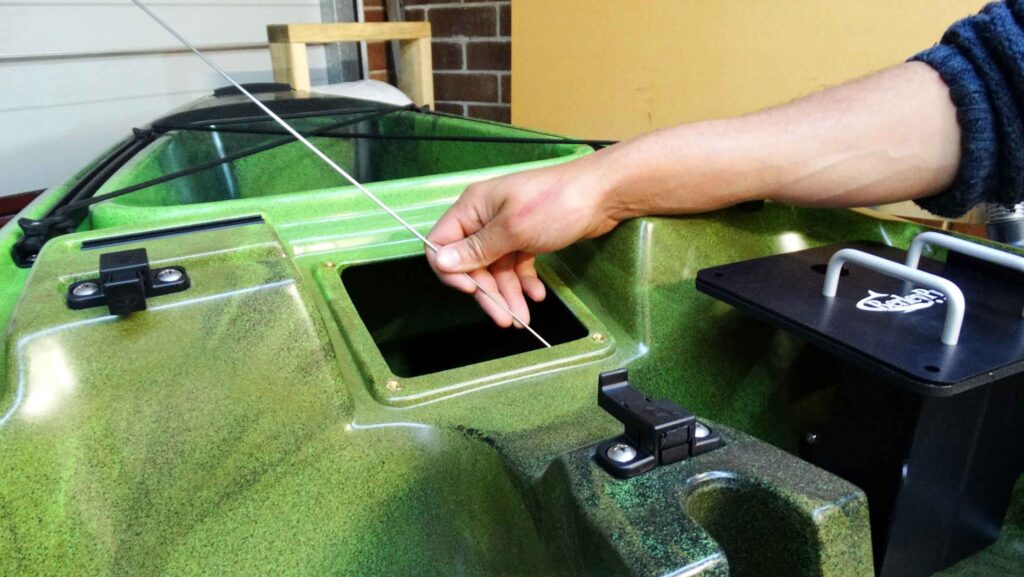
I removed the rear cup and cap and run the wires down the kayak with a using a stiff piece of wire from the rear hatch to the front.
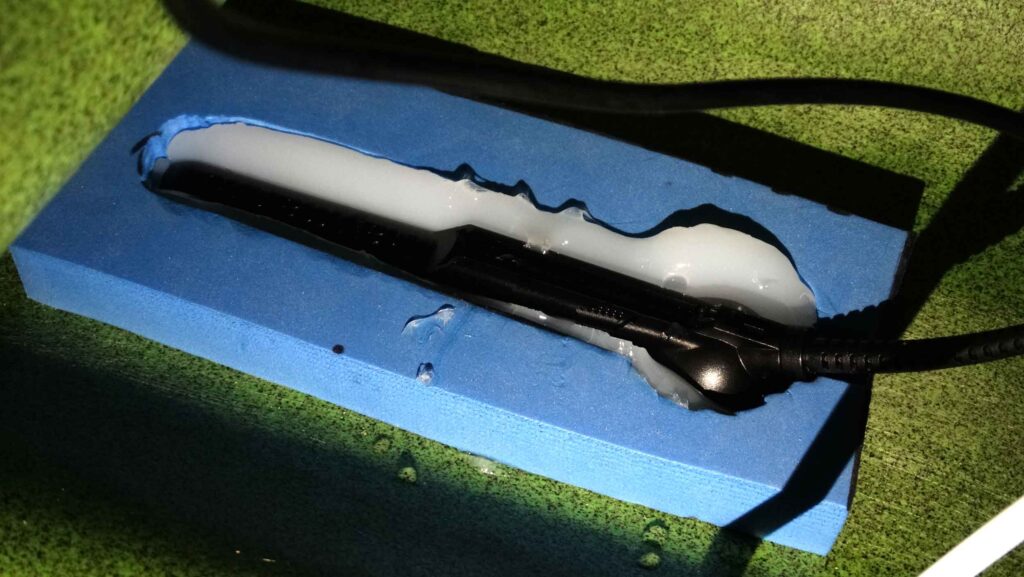
I glued the foam to the bottom of the inside of the kayak and then filled it with silicone and pushed the transducer into it. The reason for cutting a template out is shown here by the silicon being captured so it can not freely disperse everywhere!
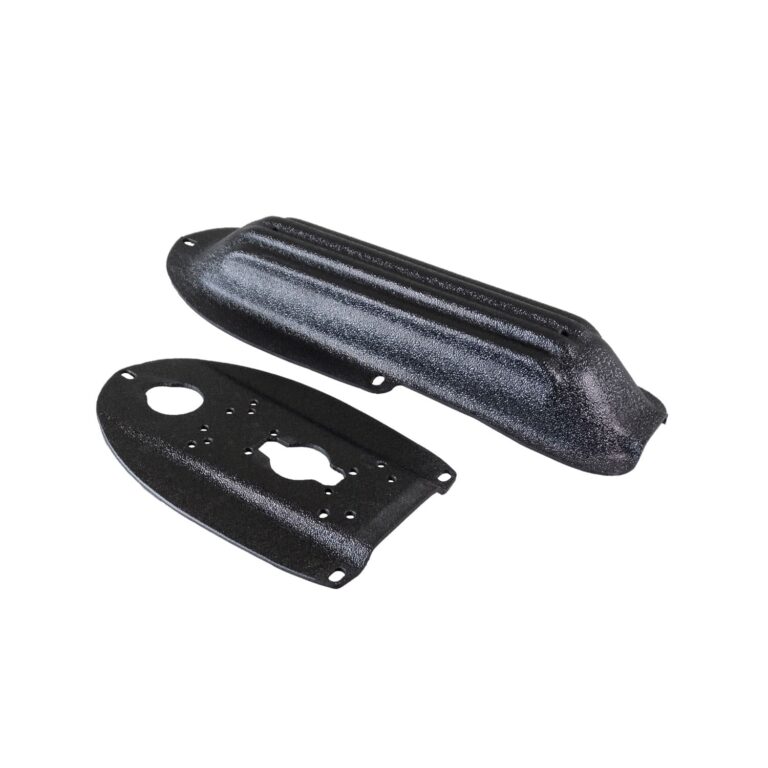
I was replacing the rear cup with a BerleyPro Round Hatch Cover so I added a dimmer and started running some wires to the rear for a live bait tank and Matts BerleyPro Light.
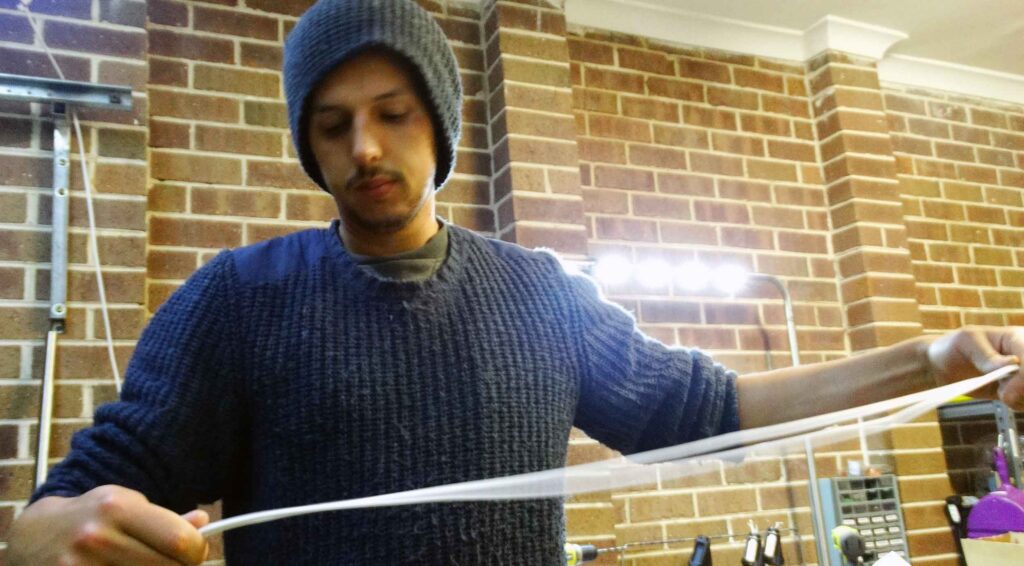
I always stagger my electrical joins so if the insulation rubs through it will reduce the chance of the wires shorting on each other.
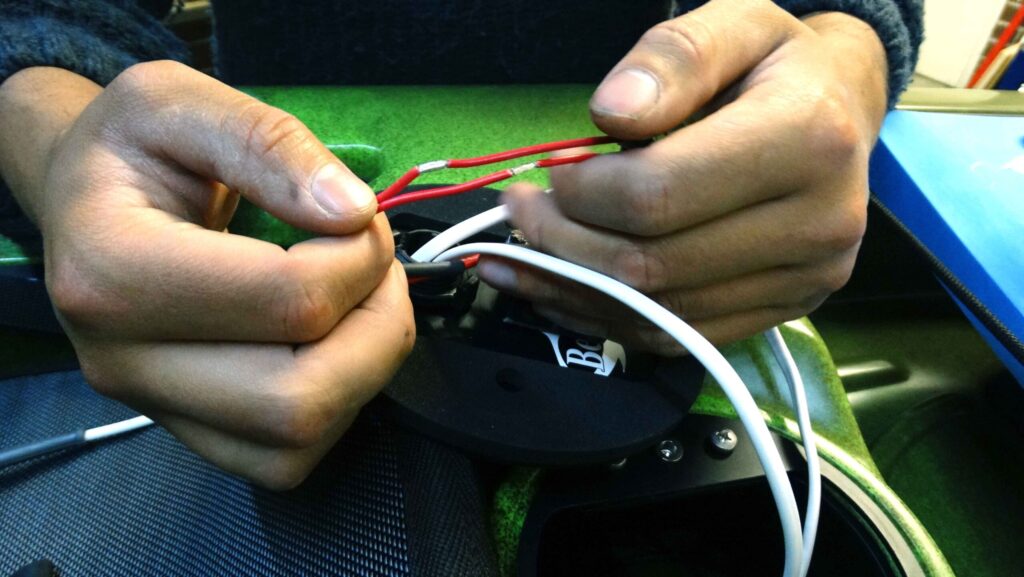
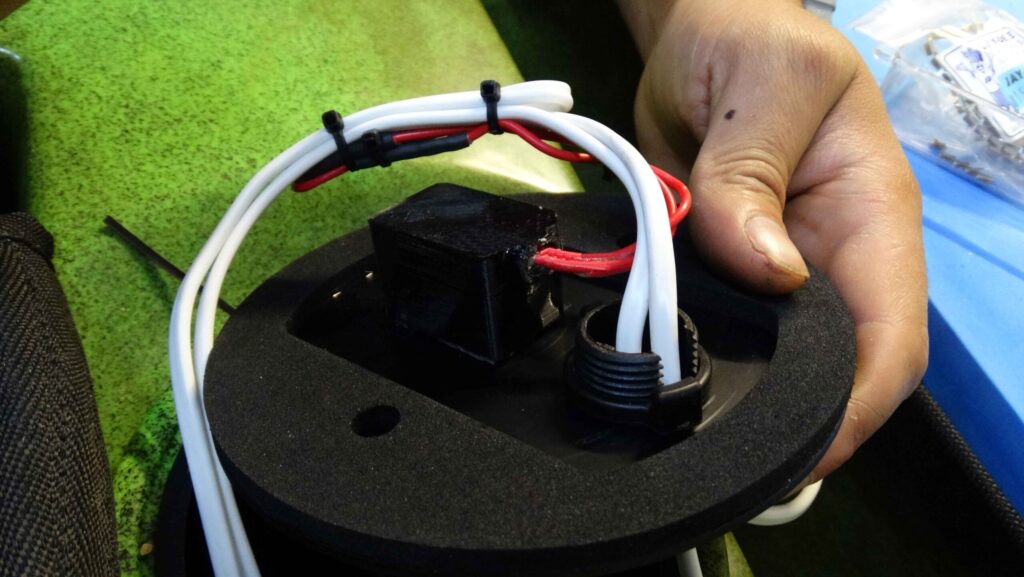
The dimmer is wired in series to the BerleyPro light. This has a high,off and low setting and this is what the underside looked like finished.
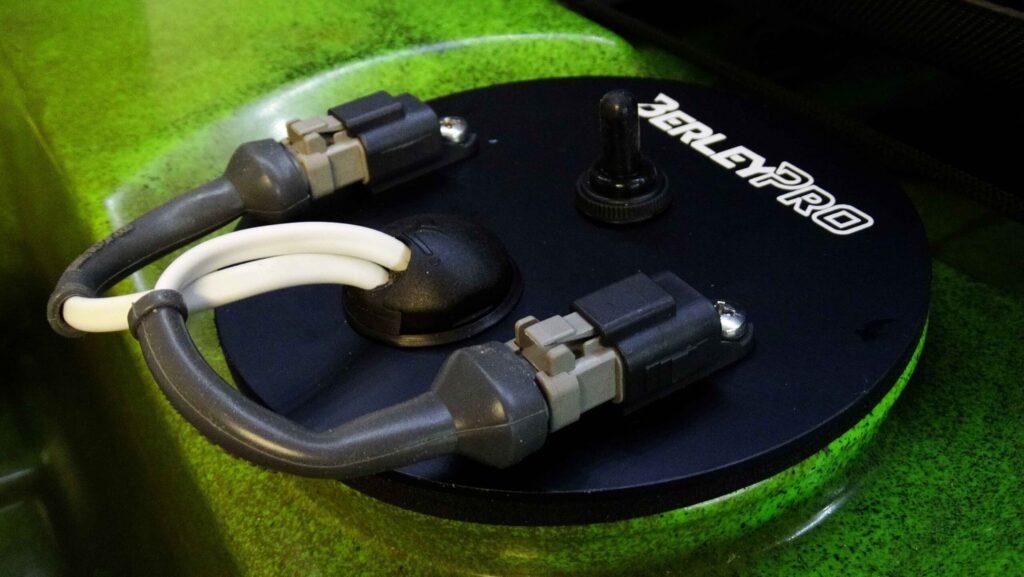
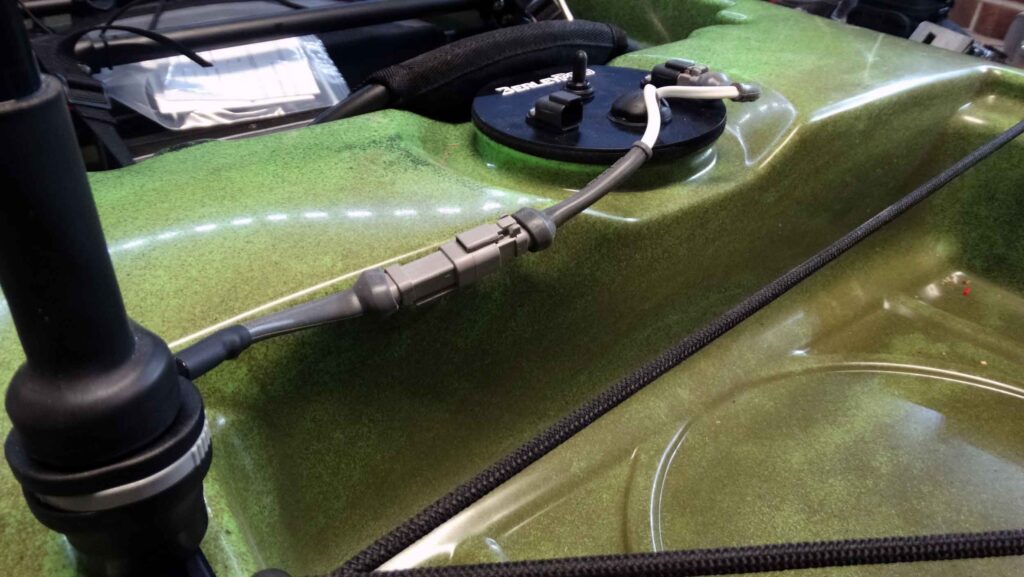
I added two waterproof caps to the top of the hatch for the live bait tank and light connectors so Matt can keep them plugged in and protected when not in use.
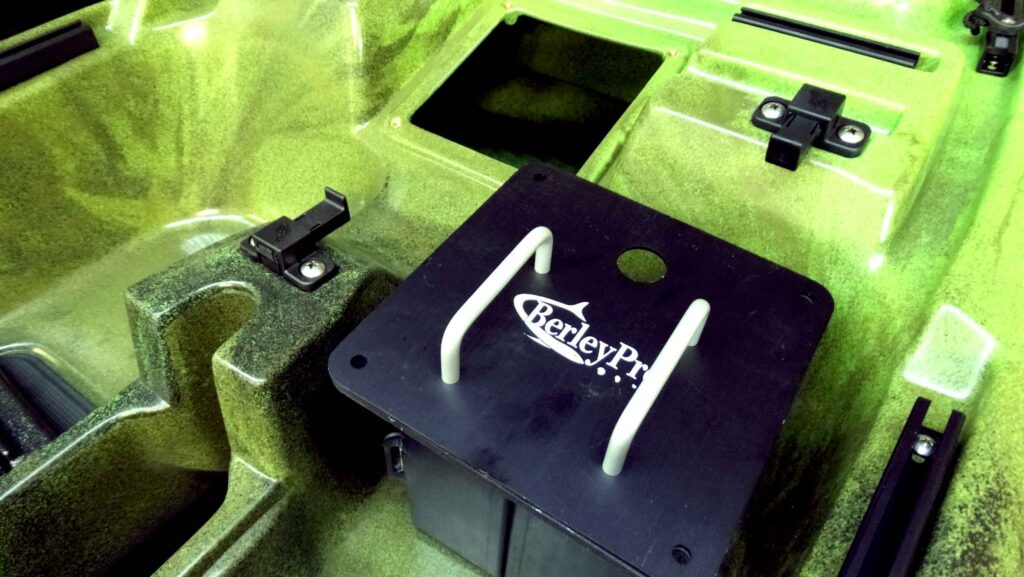
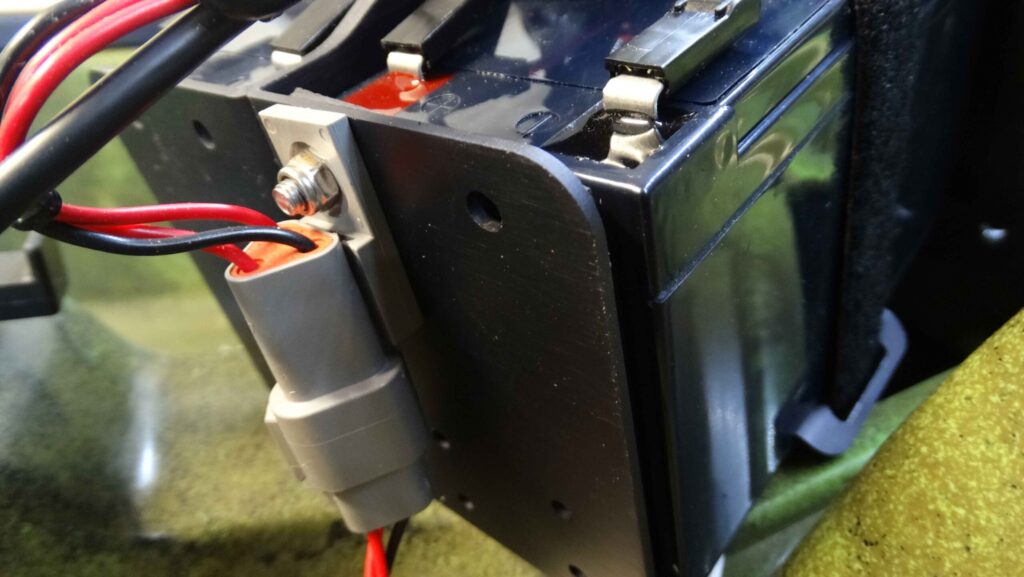
I attached a 3 way plug to the front battery mount so the rear wiring could be quickly disconnected if the batteries were needed to be removed.
I used a waterproof 4 way fuse holder and wired each component separately to the fuse holder and then joined the two 9ah batteries in parallel.
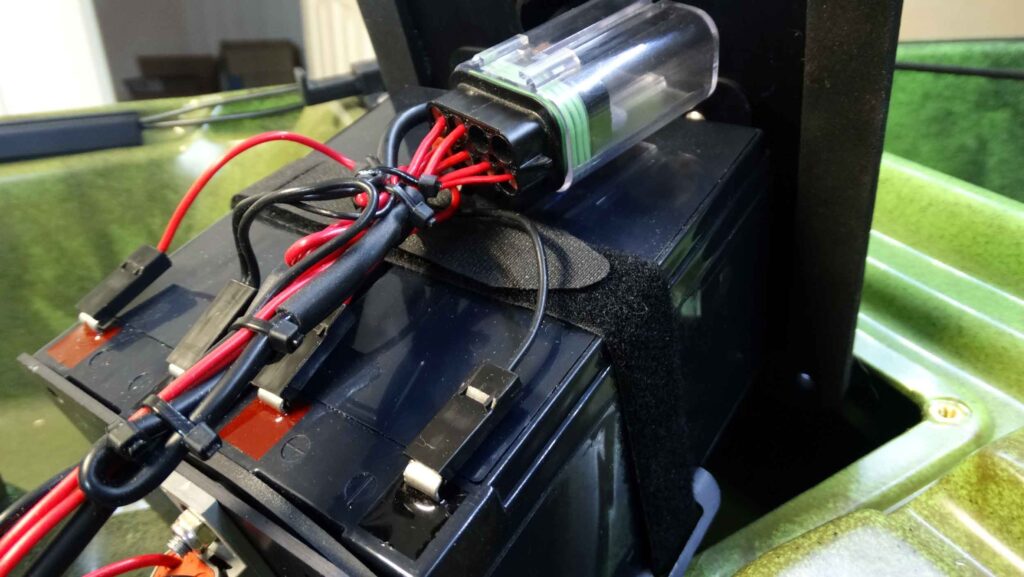
Here is a shot of the cables running out the top of the battery mount.
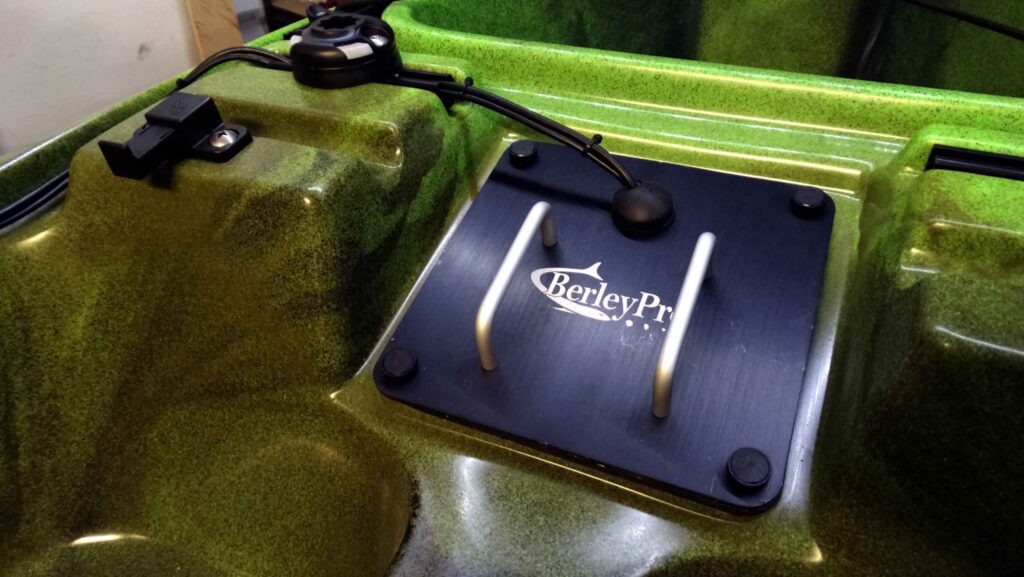
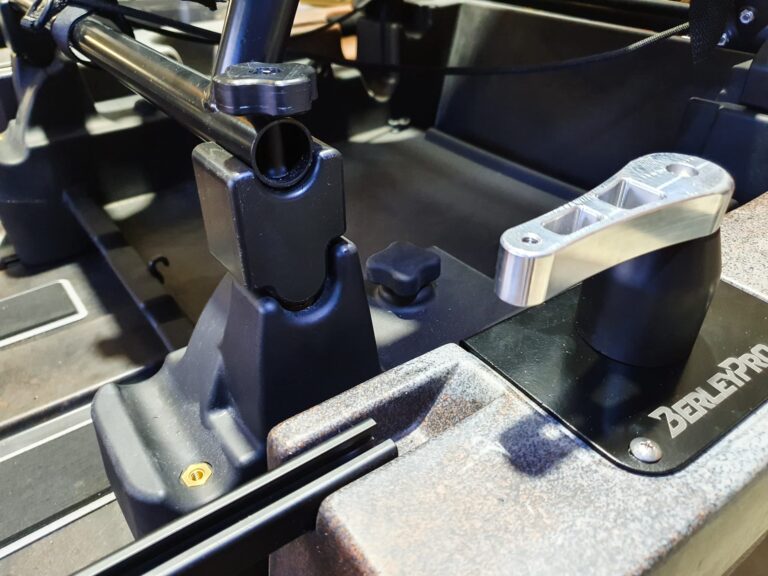
I made a mount for the Raymarine sounder to adapt to a Railblaza Starport and also provided some more Starports so Matt can add rod holders and cameras for his journeys!
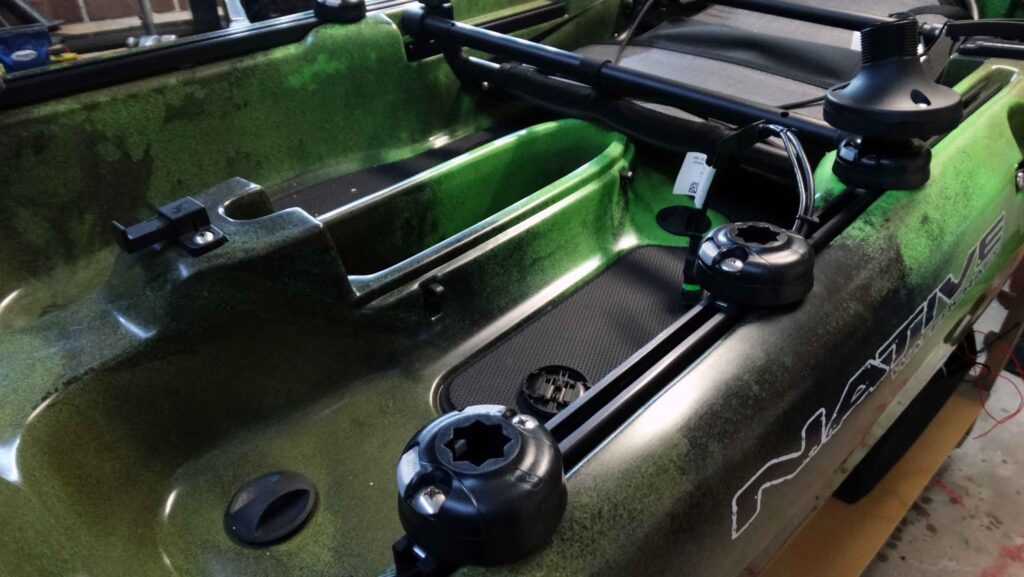
Here is how the light plugs in on the back.
Check out Matt’s adventure on Facebook and be sure to say hello if you see him travelling around Australia!
